Why You'll Love It
- - No oven required, just a skillet and fire.
- - Fluffy interior with a lightly crisp crust.
- - Minimal ingredients, easy to pack for trips.
- - Versatile: sweet or savory add‑ins welcome.
"The campfire bread turned our backyard fire pit into a bakery – pure, simple joy!"
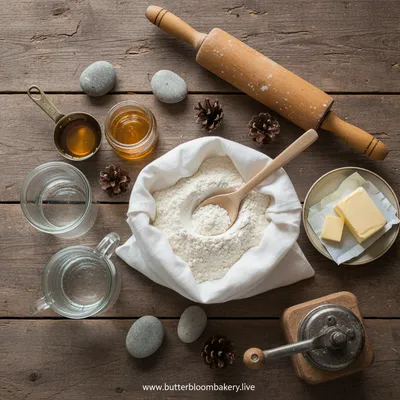
Essential Ingredient Guide
- All‑purpose flour: Choose a good quality flour; it gives structure and a tender crumb.
- Warm water: Warm water helps activate the yeast gently, creating a light rise.
- Olive oil (optional): Adds richness and helps the crust stay soft.
- Salt: Enhances flavor; a pinch is enough.
- Lemon juice or vinegar: A splash brightens the dough and balances the taste.
- Honey or sugar: Just a teaspoon to feed the yeast and add a hint of sweetness.
Complete Cooking Process
-
Ingredient Readiness:
Measure flour, warm water, and whisk together until smooth. Let the mixture rest for a few minutes to hydrate.
-
Flavor Development:
Add salt, oil, and a touch of honey; the dough begins to feel supple as it comes together.
-
Texture Control:
Knead briefly on a floured surface, just until the dough is elastic—no over‑working.
-
Finishing Touches:
Shape into flat rounds, brush with a little oil, and set aside while the fire builds.
-
Serving Timing:
Cook over a low‑to‑moderate flame, flipping once; serve warm, still steaming.
- Use a cast‑iron skillet for even heat distribution.
- Cover the skillet with a lid for the first few minutes to trap steam.
- If the dough sticks, dust the pan lightly with flour.
- Add herbs like rosemary for an aromatic boost.
Pro Tips
Well, those little adjustments make a world of difference. I’ve found that a gentle flame and a snug lid create that perfect, airy interior while the edges turn a soft golden. Once you pull the bread from the heat, let it rest a minute—just enough for the crust to settle and the aroma to fill the campsite.
The essence of the dish:
A fun fact or historical angle:
Flavor or sensory focus:
You Must Know
- Keep the fire low to avoid burning the crust.
- Flip only once for even cooking.
- Cover briefly to create steam.
Frequently Asked Questions
→ Can I use whole‑wheat flour?
Yes, substitute half the all‑purpose flour with whole‑wheat for a nuttier flavor; you may need a touch more water.
→ Do I need yeast?
No yeast is required; the recipe relies on a quick‑rise method using a pinch of baking powder or just the natural rise from the honey.
→ How long can the bread stay warm?
Keep it wrapped in foil near the fire for up to 30 minutes; reheating on low heat restores softness.
→ Can I add cheese?
Absolutely—sprinkle shredded cheddar or mozzarella on top before cooking for a melty finish.
→ What if I don’t have a skillet?
A heavy cast‑iron Dutch oven works well; just adjust the heat and flip carefully.
→ Is this recipe gluten‑free?
Swap the all‑purpose flour for a gluten‑free blend; the texture remains tender.
Chef's Tips
If the skillet gets too hot, move it slightly away from direct flames.,A light dusting of flour on the skillet prevents sticking.,Covering the skillet creates steam, keeping the interior tender.
Nutrition Facts
per serving
280
Calories
6g
Protein
38g
Carbs
9g
Fat
Taste Profile
Warm, slightly sweet, with a comforting salty backdrop
Ingredient Substitutions
Don't have an ingredient? Try these alternatives
Whole‑wheat adds nuttiness; gluten‑free may need extra water.
Butter gives a richer flavor but may brown faster.
Recipe Variations
Try these delicious twists on the original
Herb‑Infused Version
Mix chopped thyme, oregano, or rosemary into the dough for an aromatic twist.
Sweet Breakfast Twist
Add a swirl of cinnamon sugar before cooking and serve with butter and jam.
Common Mistakes to Avoid
Learn from others' mistakes for perfect results
- Using too high a flame, which burns the crust before the inside cooks.
- Over‑kneading, leading to a tough texture.
- Skipping the cover, resulting in a dry crumb.
Meal Prep & Storage
Make Ahead Tips
You can mix the dry ingredients and store them in an airtight bag. Add wet ingredients and shape the dough when you’re ready to cook, about 30 minutes before the fire is ready.
Leftover Ideas
Reheat gently in a skillet over low heat, covering with a lid to retain moisture, or toast slices for a quick snack.
Perfect Pairings
Serve this with...
Cooking Timeline
Gather and measure all ingredients; whisk dry components together.
Add wet ingredients, mix into a shaggy dough, let rest briefly.
Knead gently, incorporate optional herbs or cheese.
Shape rounds, brush with oil, and let sit while fire builds.
Cook each round in the skillet, covering for steam, flip, and finish.
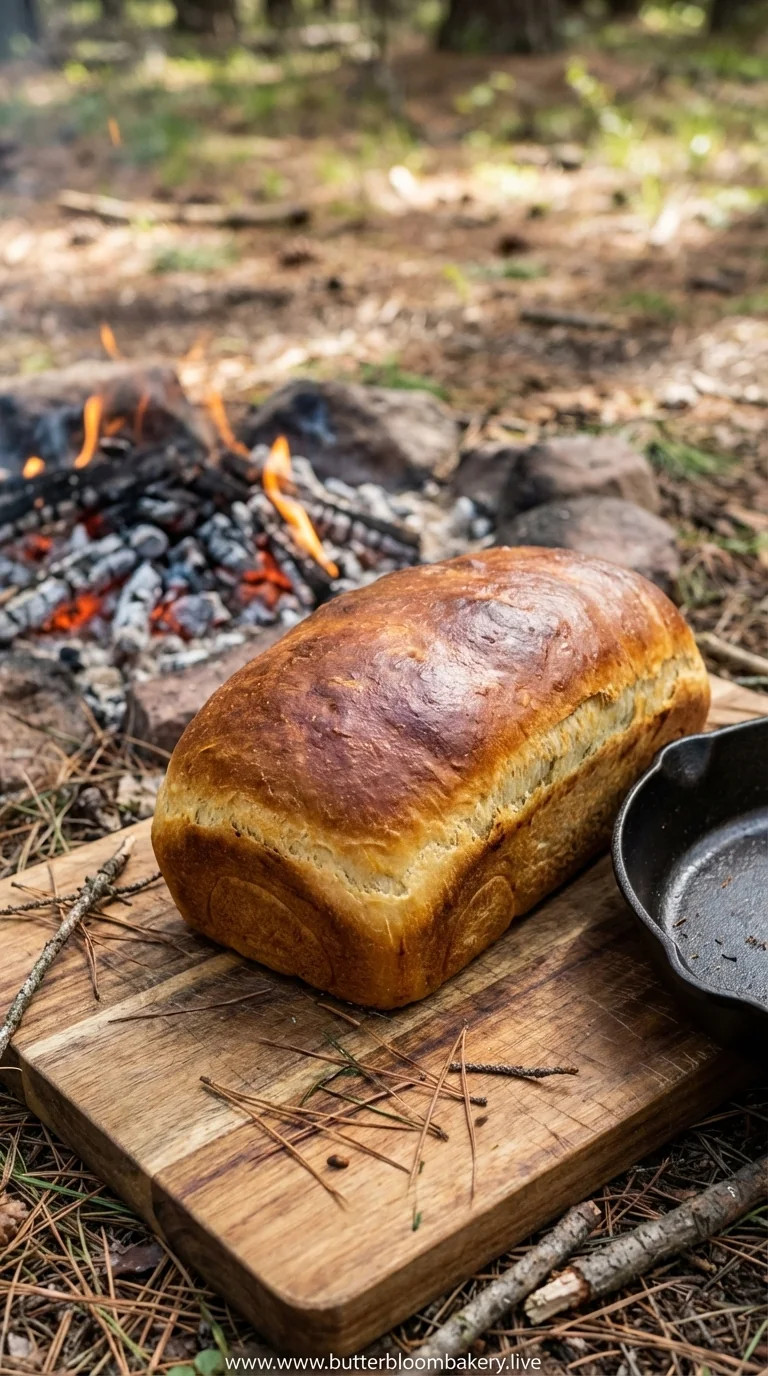
Easy Campfire Bread Recipe – Outdoor Treat
A warm, fluffy campfire bread that comes together in minutes, perfect for the whole family to enjoy under the open sky. No oven needed, just a simple skillet and a crackling fire.
Timing
Prep Time
10 Minutes
Cook Time
15 Minutes
Total Time
25 Minutes
Recipe Details
Ingredients
Main Ingredients
- 01 2 cups all‑purpose flour
- 02 3/4 cup warm water
- 03 1 tbsp olive oil
- 04 1 tsp honey
- 05 1/2 tsp salt
- 06 1 tsp baking powder
Optional Add‑Ins
- 01 1 tbsp fresh rosemary, chopped
- 02 1/4 cup shredded cheddar cheese
Instructions
In a bowl, whisk flour, baking powder, and salt together; the dry mix feels soft and fragrant.
Add warm water, olive oil, and honey; stir until a shaggy dough forms, then let it rest for 5 minutes.
Turn the dough onto a lightly floured surface and knead gently for 1‑2 minutes; fold in rosemary or cheese if using.
Divide the dough into 4 rounds, brush each side with a little oil, and set aside while the fire builds.
Place a skillet over a low‑to‑medium flame, add the rounds, cover for 4 minutes, then flip and cook another 4‑5 minutes until golden.
Notes & Tips
- 1 If the skillet gets too hot, move it slightly away from direct flames.
- 2 A light dusting of flour on the skillet prevents sticking.
- 3 Covering the skillet creates steam, keeping the interior tender.
Tools You'll Need
-
Cast‑iron skillet
-
Mixing bowl
-
Wooden spoon
-
Measuring cups
-
Spatula
-
Lid or foil
Must-Know Tips
- Don’t over‑mix; the dough should stay slightly sticky.
- Use a low flame to avoid burning the crust.
- Rest the dough briefly before cooking for better texture.
Professional Secrets
- Room‑temperature water activates the rise without shocking the dough.
- A tight seal with the lid traps steam for a pillow‑soft crumb.
- Adding a teaspoon of honey feeds the batter a subtle sweetness.

Recipe by
Lily DawsonChef Lily Dawson is known for her creative cookie recipes and irresistible dessert bars. She loves experimenting with flavors such as chocolate, peanu ...
Get Delicious Recipes Weekly
Join 25,000+ home cooks getting our best recipes straight to their inbox.
Free forever • No spam • Unsubscribe anytime